Wednesday, December 29, 2010
My first batch
So, along with the brewing kit (similar to this: Gold Complete Beer Equipment Kit (K7) with 5 Gallon Glass Carboy ), my wife also purchased for me a couple of books, and a Coopers Dark Ale Complete Beer Ingredient Kit for Home Brewing
 . The first book came with the kit - "Brewing Quality Beers: The Home Brewer's Essential Guidebook
 " by Byron Burch. It's pretty short - I read through it in it's entirety over Christmas and the next day. Pretty good information, particularly if one wants to start brewing from recipes, or experimenting with your own recipes (he has a simplified method for calculating hop bettering units that should allow one to have a degree of consistency in your brews). It's all a bit advanced seeing how I'm starting with kit with concentrate and extract, and won't be boiling my own hops, but it's a great primer, and has me excited to take it to the next level. I'm sure I'll read it again when the time comes...
I was excited to start my first batch, but the directions in the book didn't really cover brewing from a kit with extract and concentrate, and the directions "on the can" left me wondering if it was really that simple. So, I went to the Cooper's website (http://www.coopers.com.au/) and downloaded the kit instructions there. It's pretty basic: after sanitizing all your equipment, you simply empty the contents of the hopped malt extract, 1kg of sugar, and 2 liters of boiling water into the fermenter. Stir it until everything is "dissolved", then fill the fermenter up to the 5 gal mark with water (Houston water has a chlorine smell, so I used bottled). The kit my wife bought came with a container labeled "amber extract". I assumed this was, and used it, in place of the sugar, so we'll see... Finally, I sprinkled the yeast packet over the top, put the lid on, inserted the airlock, and filled it with bottled water. Then I put the bucket in the downstairs shower stall (never gets used).
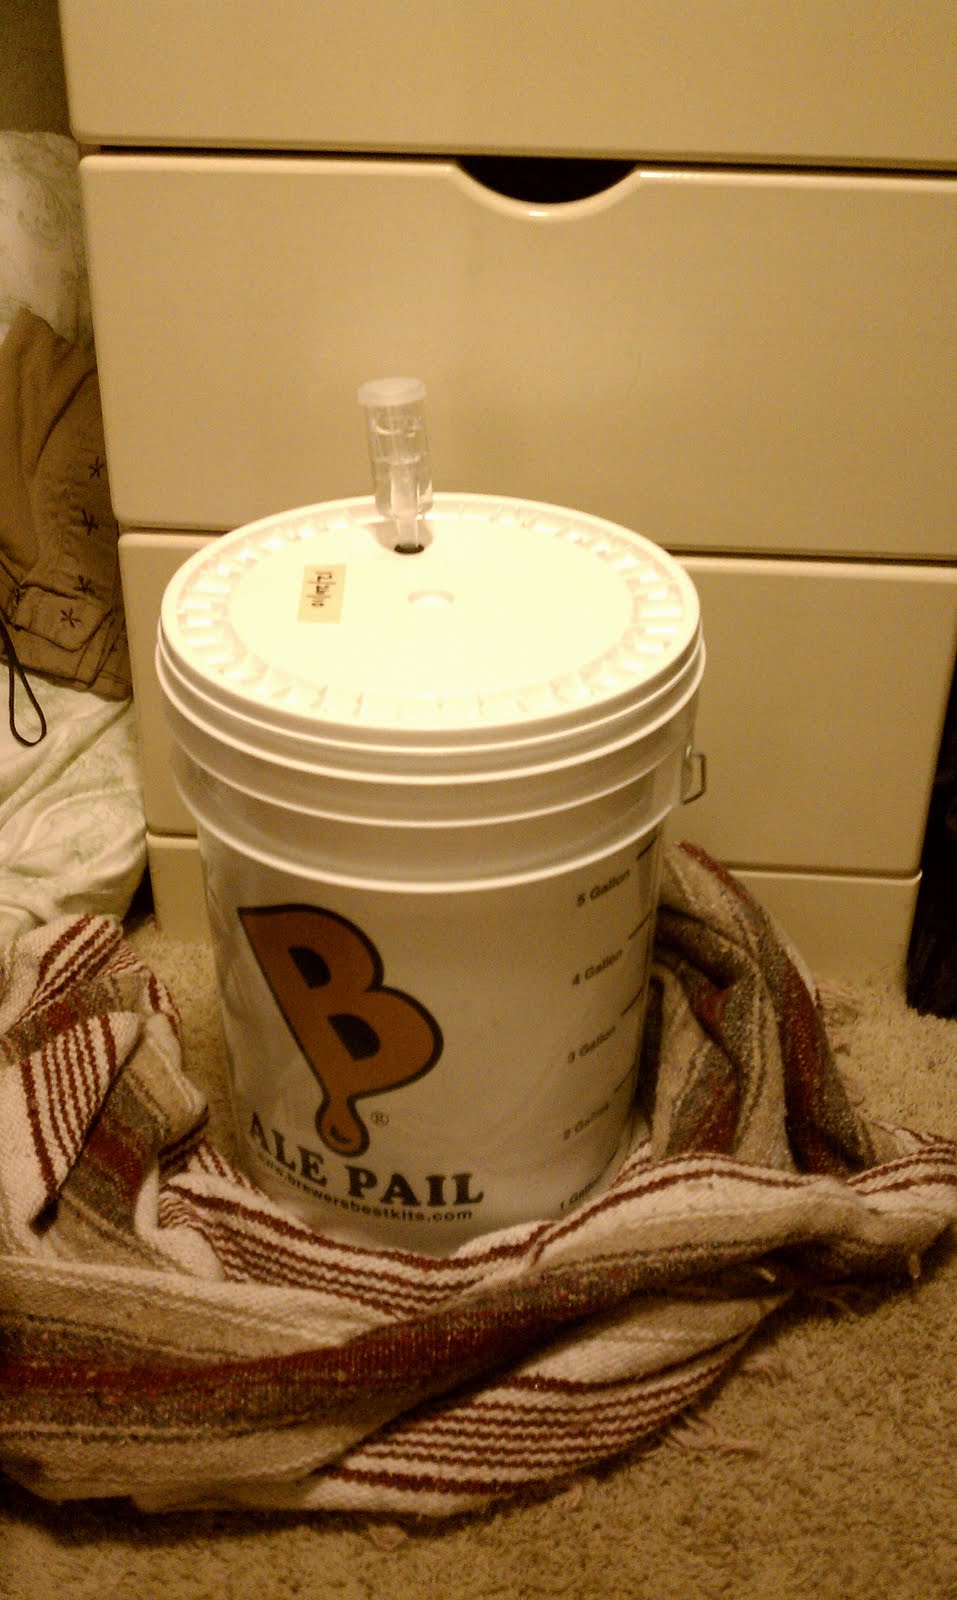
The kit said that fermentation should begin in a few hours, and bubbling should be visible in the airlock. After ~20 hours, there was no bubbling. I started reading the second (thicker) book my wife bought me: "How to Brew: Everything You Need To Know To Brew Beer Right The First Time" by John Palmer. This book is really great. Aside from having a lot of detail on various aspects of brewing, it starts with a "Crash course" that I should have read before trying my kit. After reading this, there are several things I probably should have done differently. #1) I should have re-hydrated my yeast by stirring it into some warm water first. #2) My wort was too cold (20 deg C) when I pitched (added) the yeast to it. #3) The downstairs shower is likely too cold (it's been cold the last few days and the downstairs ambient temp has been around 63 deg F). So, I moved it to the upstairs closet (ambient temp around 66-67 deg F). Just the action of moving the pail must have "stirred" up the yeast a little, because just moments after setting it down, I saw the first bubble in the airlock! Fermentation has commenced!

I was excited to start my first batch, but the directions in the book didn't really cover brewing from a kit with extract and concentrate, and the directions "on the can" left me wondering if it was really that simple. So, I went to the Cooper's website (http://www.coopers.com.au/) and downloaded the kit instructions there. It's pretty basic: after sanitizing all your equipment, you simply empty the contents of the hopped malt extract, 1kg of sugar, and 2 liters of boiling water into the fermenter. Stir it until everything is "dissolved", then fill the fermenter up to the 5 gal mark with water (Houston water has a chlorine smell, so I used bottled). The kit my wife bought came with a container labeled "amber extract". I assumed this was, and used it, in place of the sugar, so we'll see... Finally, I sprinkled the yeast packet over the top, put the lid on, inserted the airlock, and filled it with bottled water. Then I put the bucket in the downstairs shower stall (never gets used).
The kit said that fermentation should begin in a few hours, and bubbling should be visible in the airlock. After ~20 hours, there was no bubbling. I started reading the second (thicker) book my wife bought me: "How to Brew: Everything You Need To Know To Brew Beer Right The First Time" by John Palmer. This book is really great. Aside from having a lot of detail on various aspects of brewing, it starts with a "Crash course" that I should have read before trying my kit. After reading this, there are several things I probably should have done differently. #1) I should have re-hydrated my yeast by stirring it into some warm water first. #2) My wort was too cold (20 deg C) when I pitched (added) the yeast to it. #3) The downstairs shower is likely too cold (it's been cold the last few days and the downstairs ambient temp has been around 63 deg F). So, I moved it to the upstairs closet (ambient temp around 66-67 deg F). Just the action of moving the pail must have "stirred" up the yeast a little, because just moments after setting it down, I saw the first bubble in the airlock! Fermentation has commenced!
Tuesday, December 28, 2010
Kickoff
OK, so my beautiful and thoughtful wife decided she'd heard enough of me talking about how I want to try home-brewing (it's only been going on for oh, I don't know, 10 years or so...) and so she trekked down to our local home-brew shop, Brew It Yourself, and bought me a home-brewing kit for Christmas this year. Needless to say, I'm psyched! So, I thought it might be useful for me, and anyone else who's every been interested in home-brewing, to document my experiences; sort of like an online brewing journal. I'm also going to try to provide links to the books, products I use in case anyone wants them. I've never kept a blog before, so I decided this was as good a reason as any... Oh, and while you're here, you might as well slip on over to my wife's website where she sells beautiful, handmade jewelry for charitable causes ( www.terravidadesigns.com ).

Subscribe to:
Posts (Atom)