 | ||
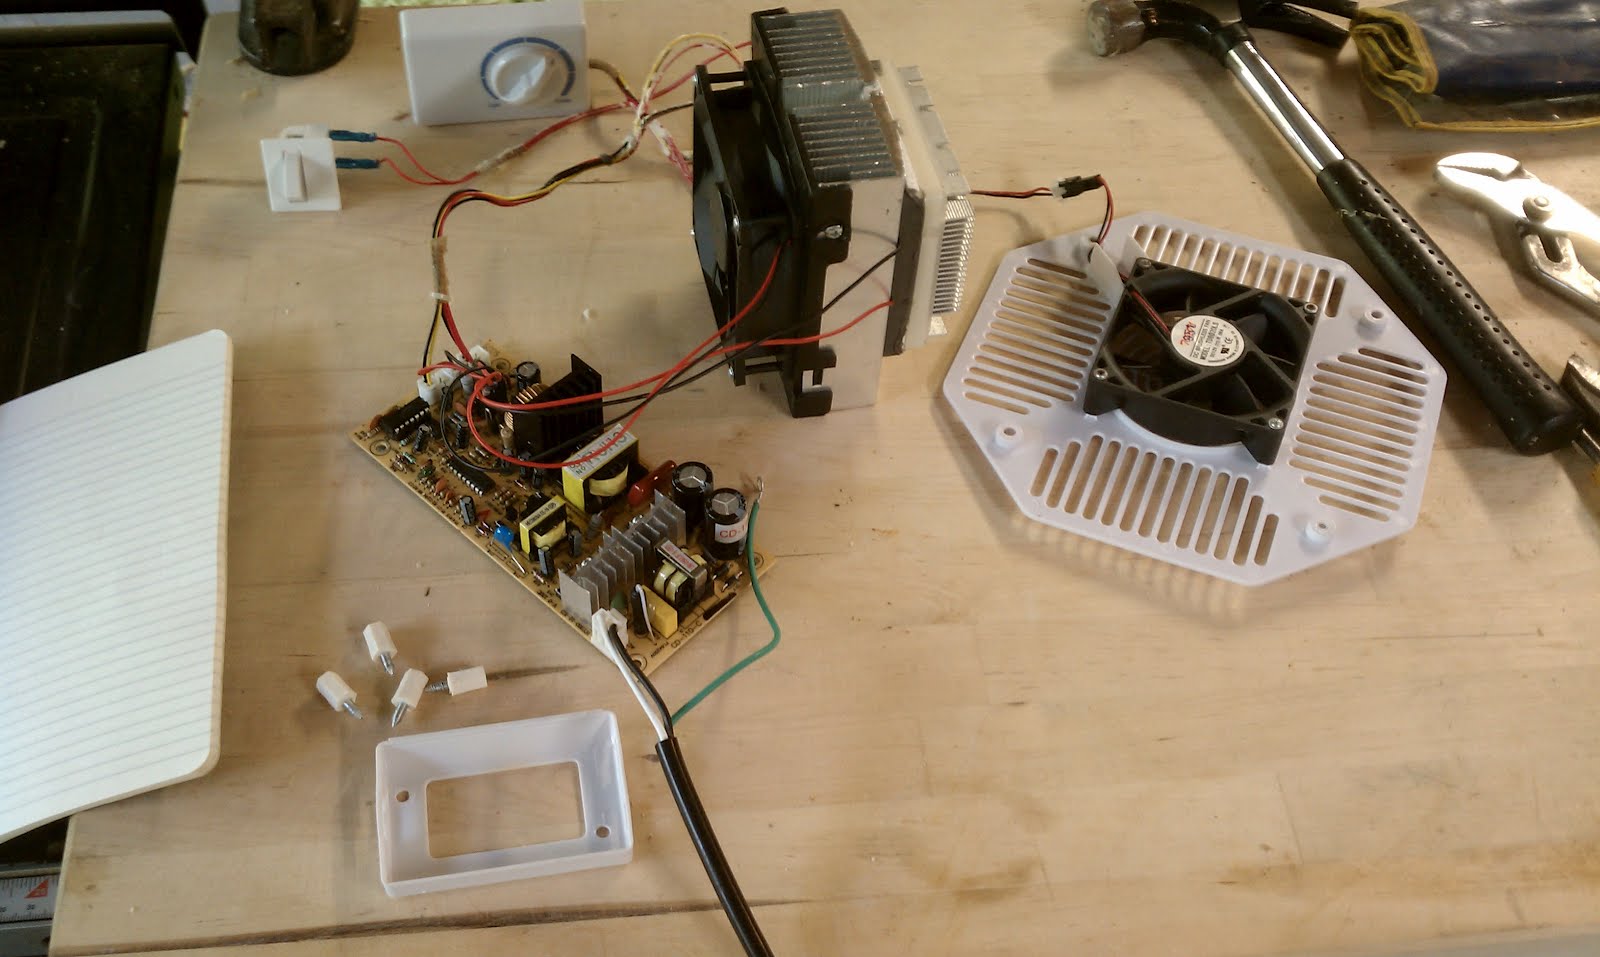
| In this picture, you can see the main components removed from the fridge. The peltier is the part in the middle that looks like a big heat-sink with a computer fan attached. below that is a circuit board to control it. Top left are the temperature control knob and door light switch, and on the right is a circulation fan for the inside. |
OK, now that the goods are removed from the fridge, it's time to build the new box. I built the frame out of 2x2s and 1x2s.
 |
| This is a shot from the front - the small boxed-in area in the back is where the peltier will go, as you can see in the next picture. |

 I had to rig up some sort of drain to deal with condensation, since water dripping down the inside would eventually ruin the particleboard interior. So, I cut a piece of pvc pipe in half to catch the condensation, and ran a small vinyl drain line through a hole in the pvc to a drain pan on the back of the chamber.
The circulation fan attaches in front of the cold-side of the peltier to keep air moving over it, and cooling the air inside the fermentation chamber. The temperature control knob will be attached to the back wall of the chamber, left of the fan. It doesn't need to be terribly accessible, since it will always be set to maximum cold, and the temperature will be controlled by an external controller.
 |
| Circulation fan mounted in front of peltier. You can see the heavy-duty wires running from the external temperature control device to the back of the unit, where it will be wired to a standard outlet. |
 |
| External temperature controller. |

The external controller affords much greater precision and accuracy in controlling the temperature, and also allows me to use both heat and cooling, depending on the ambient temperature. Installing a heater, whether it's a brew-belt, or warming blanket, will be as simple as plugging it into the second outlet.
 |
| Top outlet for cold, bottom for hot. |
Each wall of the box is insulated with 2 layers of 1" thick, aluminized rigid foam insulation board. I believe it was R5. The interior was then lined with plasticized masonite, in the hopes it would be somewhat moisture resistant. I caulked all of the joints, and put a gasket around the door opening.

 The temperature probe is at the end of a long wire, which I can tape to the side of a carboy to get an accurate read of the beer temperature.
 I screwed the cover from the back of the mini-fridge onto the back to cover the circuit board and fan. Finally, I put some casters on the bottom, and a couple pull-latches to keep the door closed tight.
7/6/13 update: The peltier used to cool this chamber turned out to be a bit under-powered. When I tried to use it in my garage in the summer, I had to put frozen bottles of water inside to help try to keep it cool. I've decided I'm going to rebuild this using a conventional compressor and coil type unit. For now, I've just attached my temperature controller to an old minifridge. Will post more on this when I start my new build.
Hi Jeff,
ReplyDeleteNice project. I am actually planning the exact same one. How well did this work. Were you able to maintain good temp control with the Peltier. Shoot me an email with your results if you get a minute.
Also, I really liked your stir plate build.
Here is my rspence25@yahoo.com
DeleteThis comment has been removed by the author.
ReplyDeleteDo you still have the peltier unit? Would you be willing to sell it?
ReplyDelete